Vous trouverez ici le code commenté (en anglais) que j’ai écrit pour intégrer un capteur d’humidité compatible arduino sur la Gamebuino Meta. Vous êtes libres d’utiliser ce code et de le modifier à votre convenance pour utliser vos propres capteurs et intégrer de nouvelles fonctionnalités.
Si vous préférez réaliser ce programme par vous-même, ou que la lecture de code commenté, en anlglais qui plus est, vous donne mal à la tête (je vous comprend, ça me fait pareil) vous pouvez suivre le fantastique Tuto pas-à-pas : capteur d’humidité
/*Code by Tom from Gamebuino team
 * version 1.0
 * 22 of april 2021
 *
 * Intended as an example of hardware integration for Gamebuino Meta
 */

#include <Gamebuino-Meta.h>

//variable declaration for the sensor value and its conversion to percent
int32_t i32_moisture_value;
int32_t i32_moisture_percent;

//define of the analog pin used to plug the sensor, here it's A1
#define ANALOG A1

//define the delay between two alert sounds in miliseconds, here 5000 for 5 seconds
#define TICK_DELAY 5000
//declaration of the two variables needed to calculate time between two alerts
int32_t i32_last_tick;
int32_t i32_now_tick;
//this allows us to setup a basic timer functionnality

void setup() {
  // put your setup code here, to run once:
  gb.begin();

  //initialization of the time variable to get a reference point (is close to 0 in this case)
  i32_last_tick = millis();
}

void loop() {
  // put your main code here, to run repeatedly:
  while (!gb.update());

  // the logic function will handle the math needed for the program
  logic();

  //the draw function will handle the display of all the elements needed for the program
  draw();
}

void  logic(){
  // we read the value from the moisture sensor plugged to the analog port A1
  // We need to substract this value from the max value of 1023 since the sensor output is inversely proportional to moisture detected
  i32_moisture_value = 1023 - analogRead(ANALOG);
  // we convert the value from a range of 0 to 1023 to a percentage
  i32_moisture_percent = (i32_moisture_value * 100) / 1023;

  //by storing the value returned by the milis() in one variable and comparing it to a reference we establish a timer system
  //we then make the console emit a ticking sound at every TICK_DELAY interval if the moisture value is below a certain threshold, here 20%
  i32_now_tick = millis();
  if (i32_moisture_percent < 20 && i32_now_tick - i32_last_tick > TICK_DELAY){
    gb.sound.playTick();
    i32_last_tick = millis();
  }
}

void  draw(){
  // the clear function is needed to reset the screen between each frame, otherwise frames would mix together and get messy
  gb.display.clear();

  // we print the value read from the moisture sensor and its value when converted to percentage
  gb.display.print("sensor value = ");
  gb.display.print(i32_moisture_value);
  gb.display.print("\nmoisture \% = ");
  gb.display.print(i32_moisture_percent);

  //we draw a simple white rectangle to act as a gauge then fill it with another blue one whose lenght is tied to percentage
  //note that we don't need to specifiy the white color for the forst rectangle since it is the default display color
  gb.display.drawRect(5, gb.display.height()-15, gb.display.width()- 10, 10);
  gb.display.setColor(BLUE);
  gb.display.fillRect(6, gb.display.height()-14, (i32_moisture_value * (gb.display.width()- 12)) / 1023, 8);
}
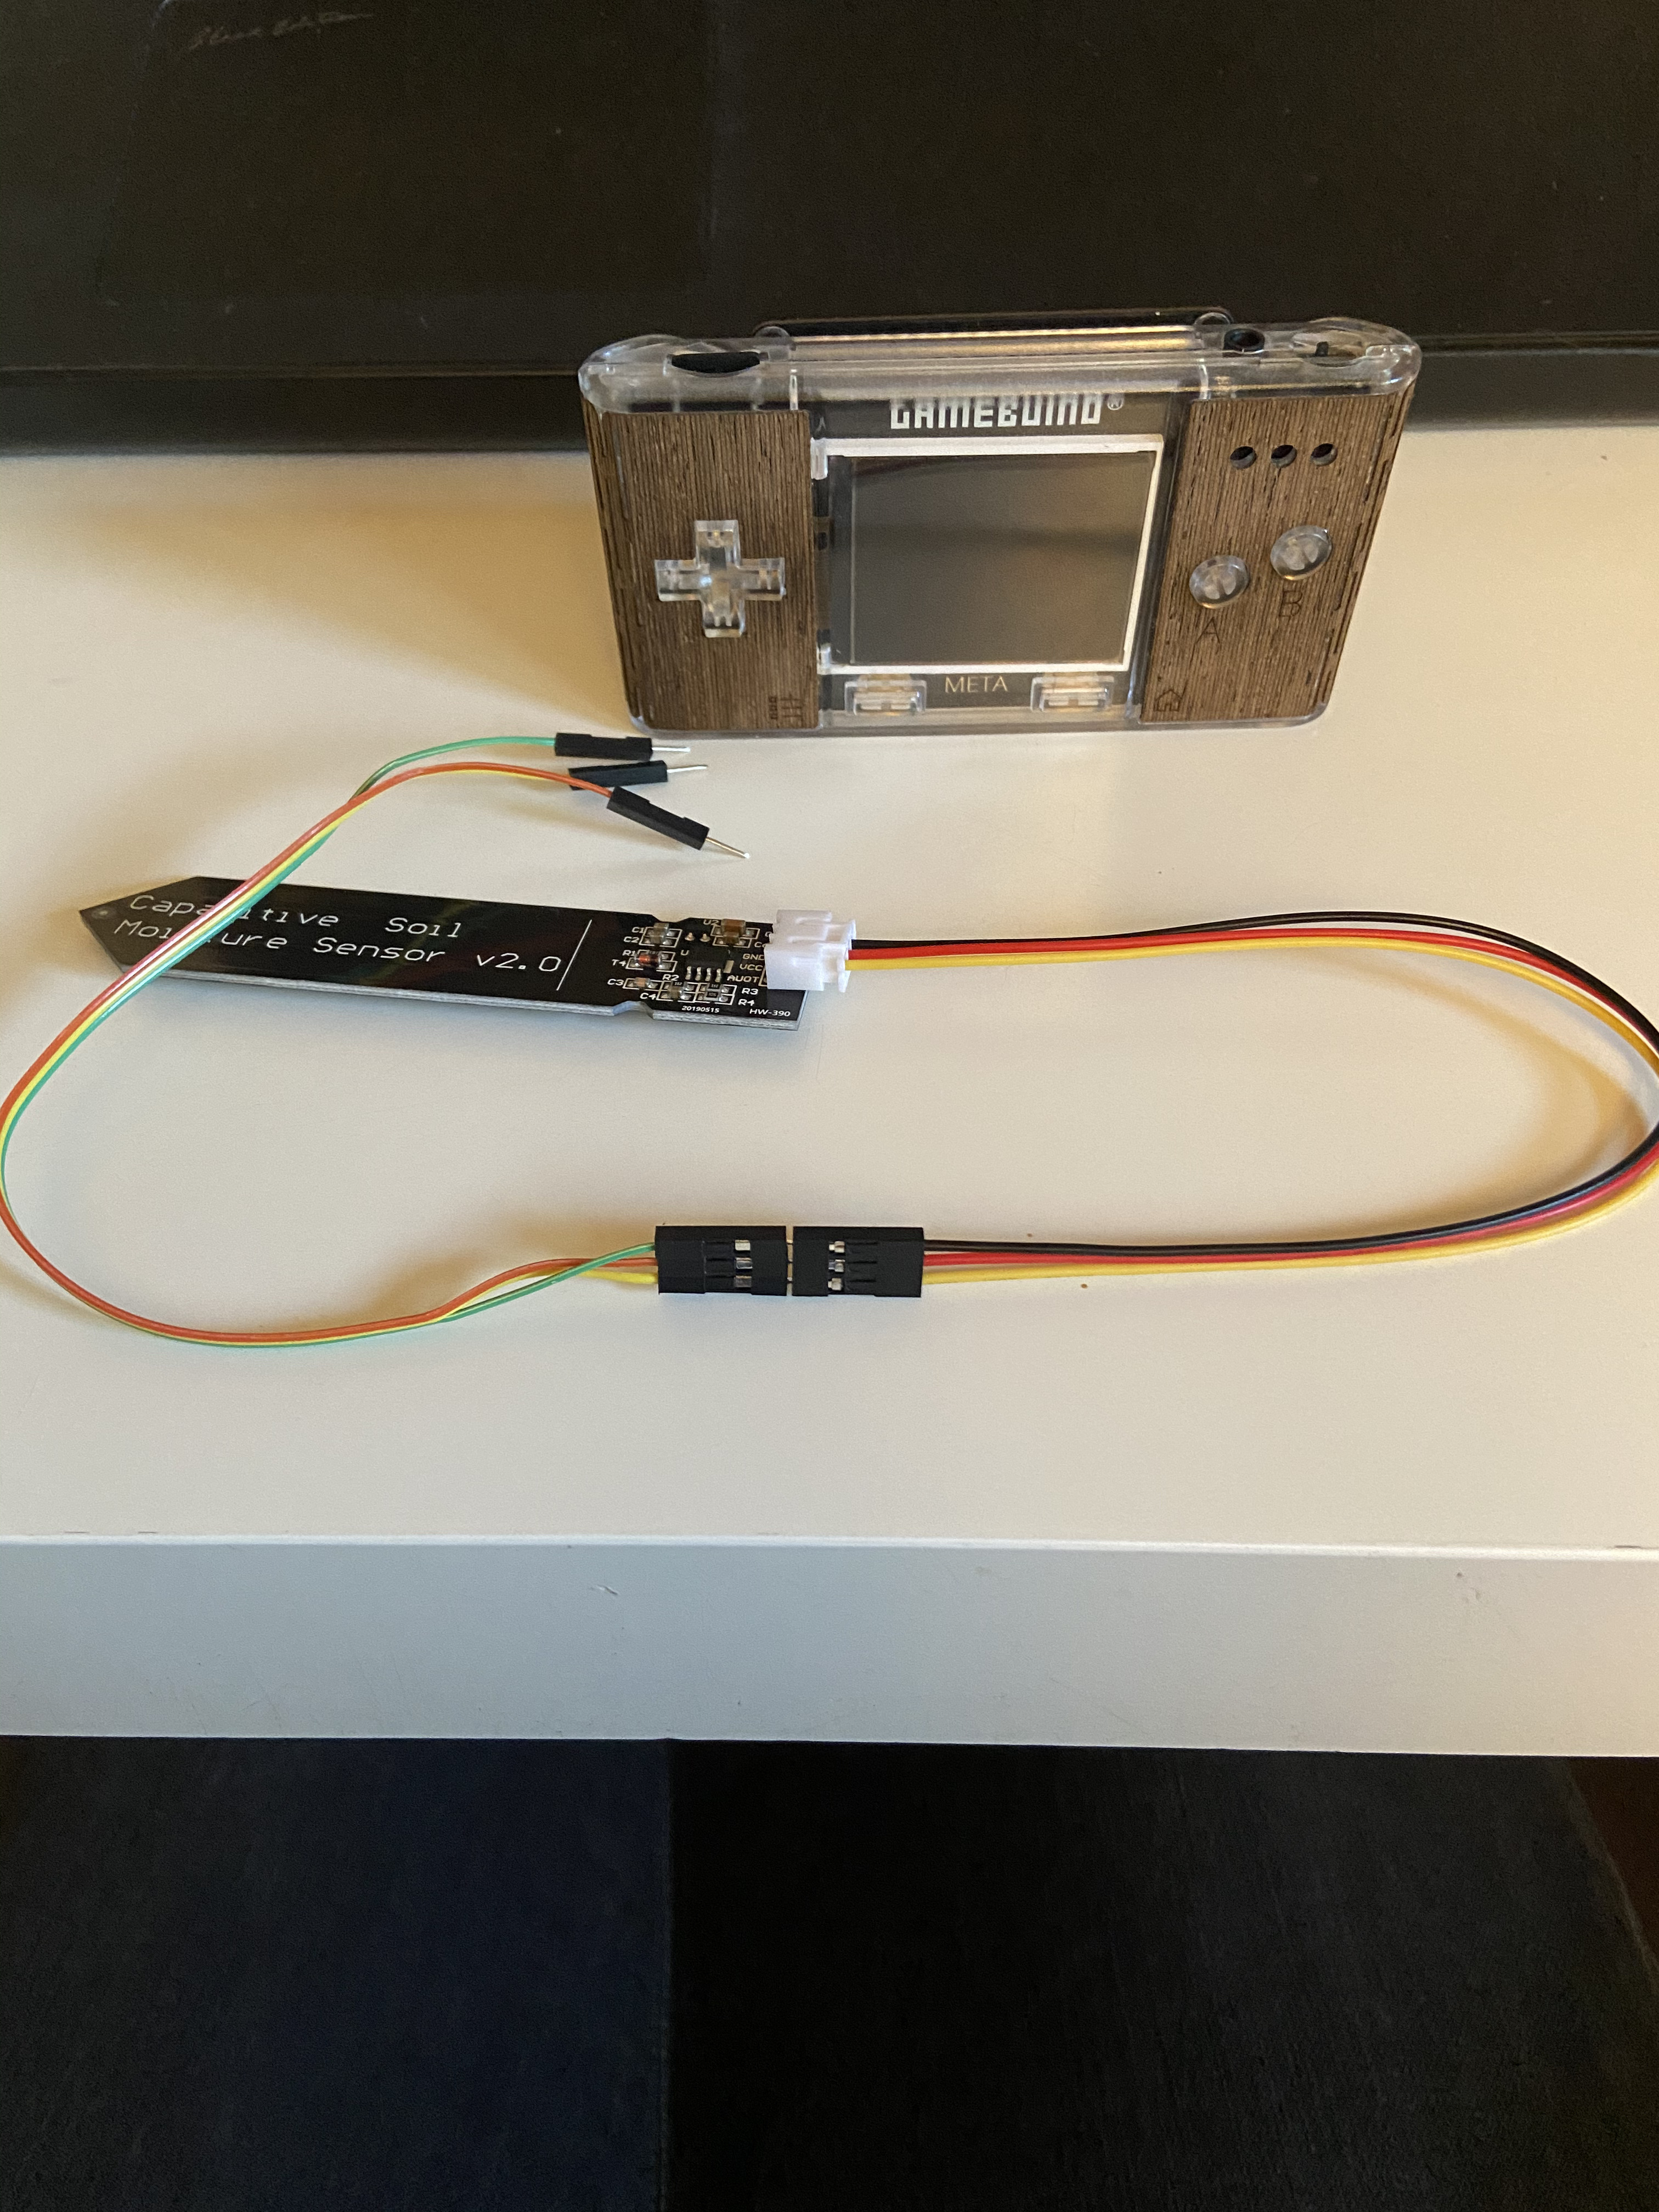
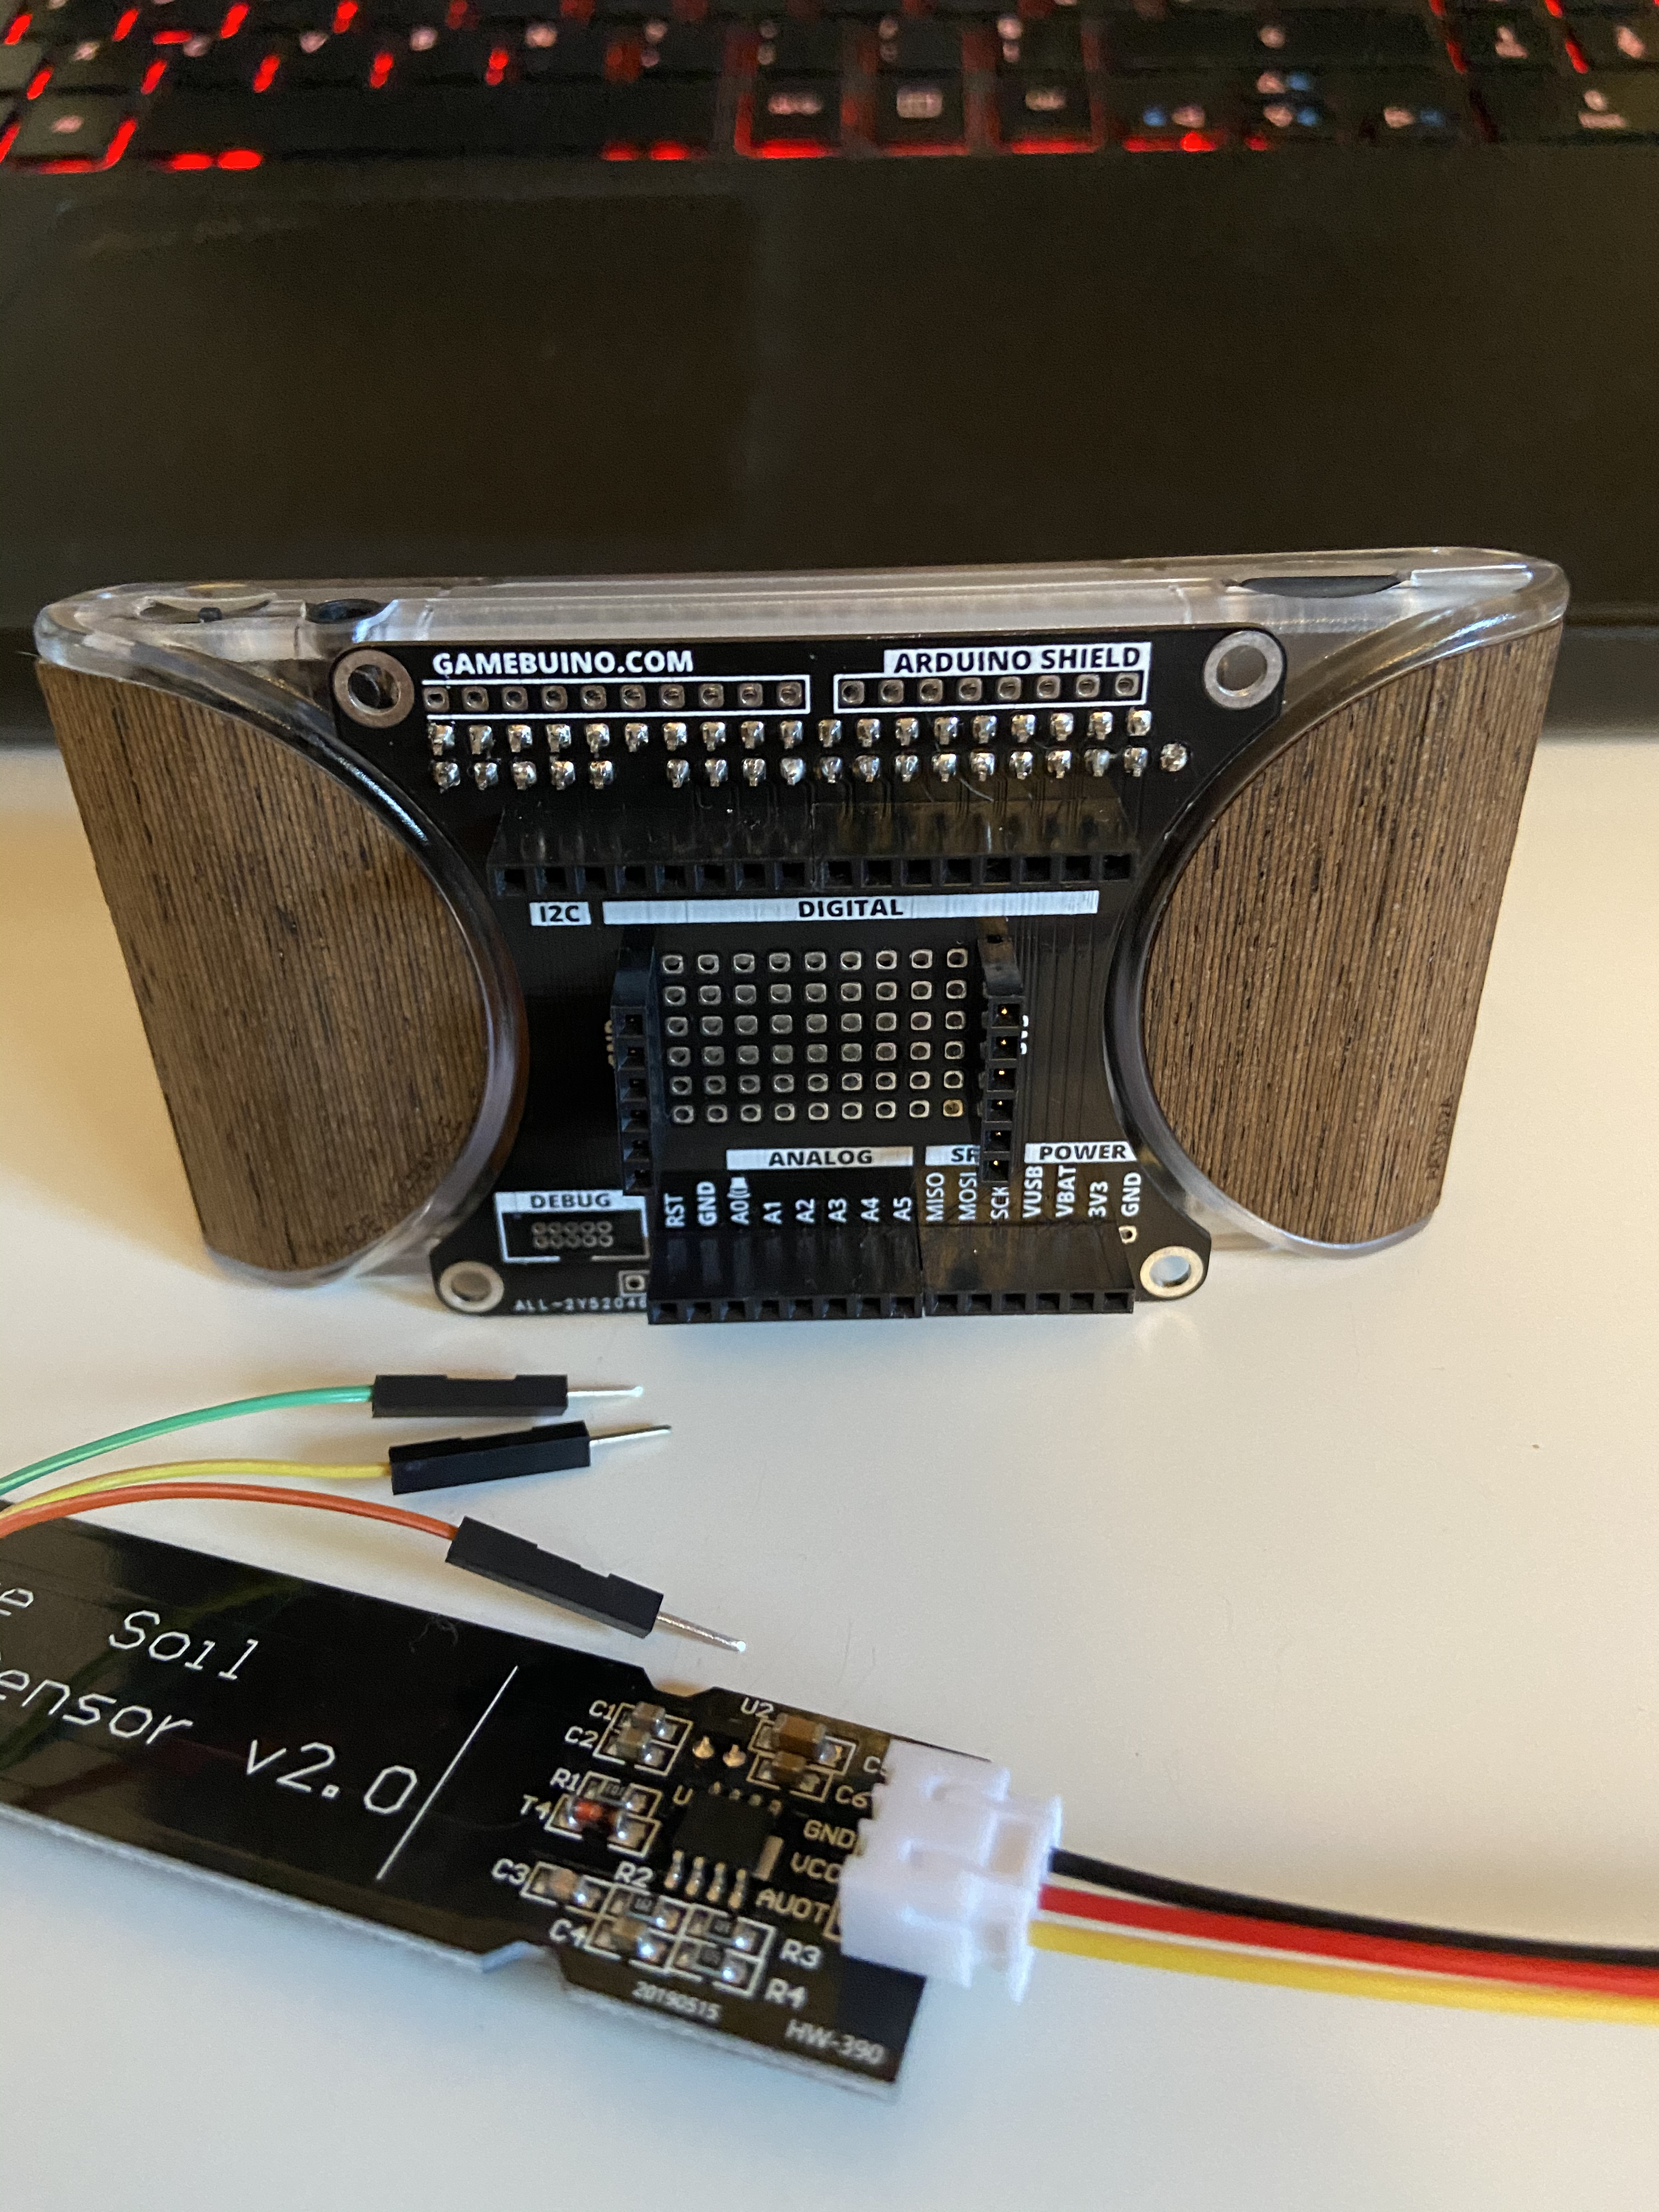
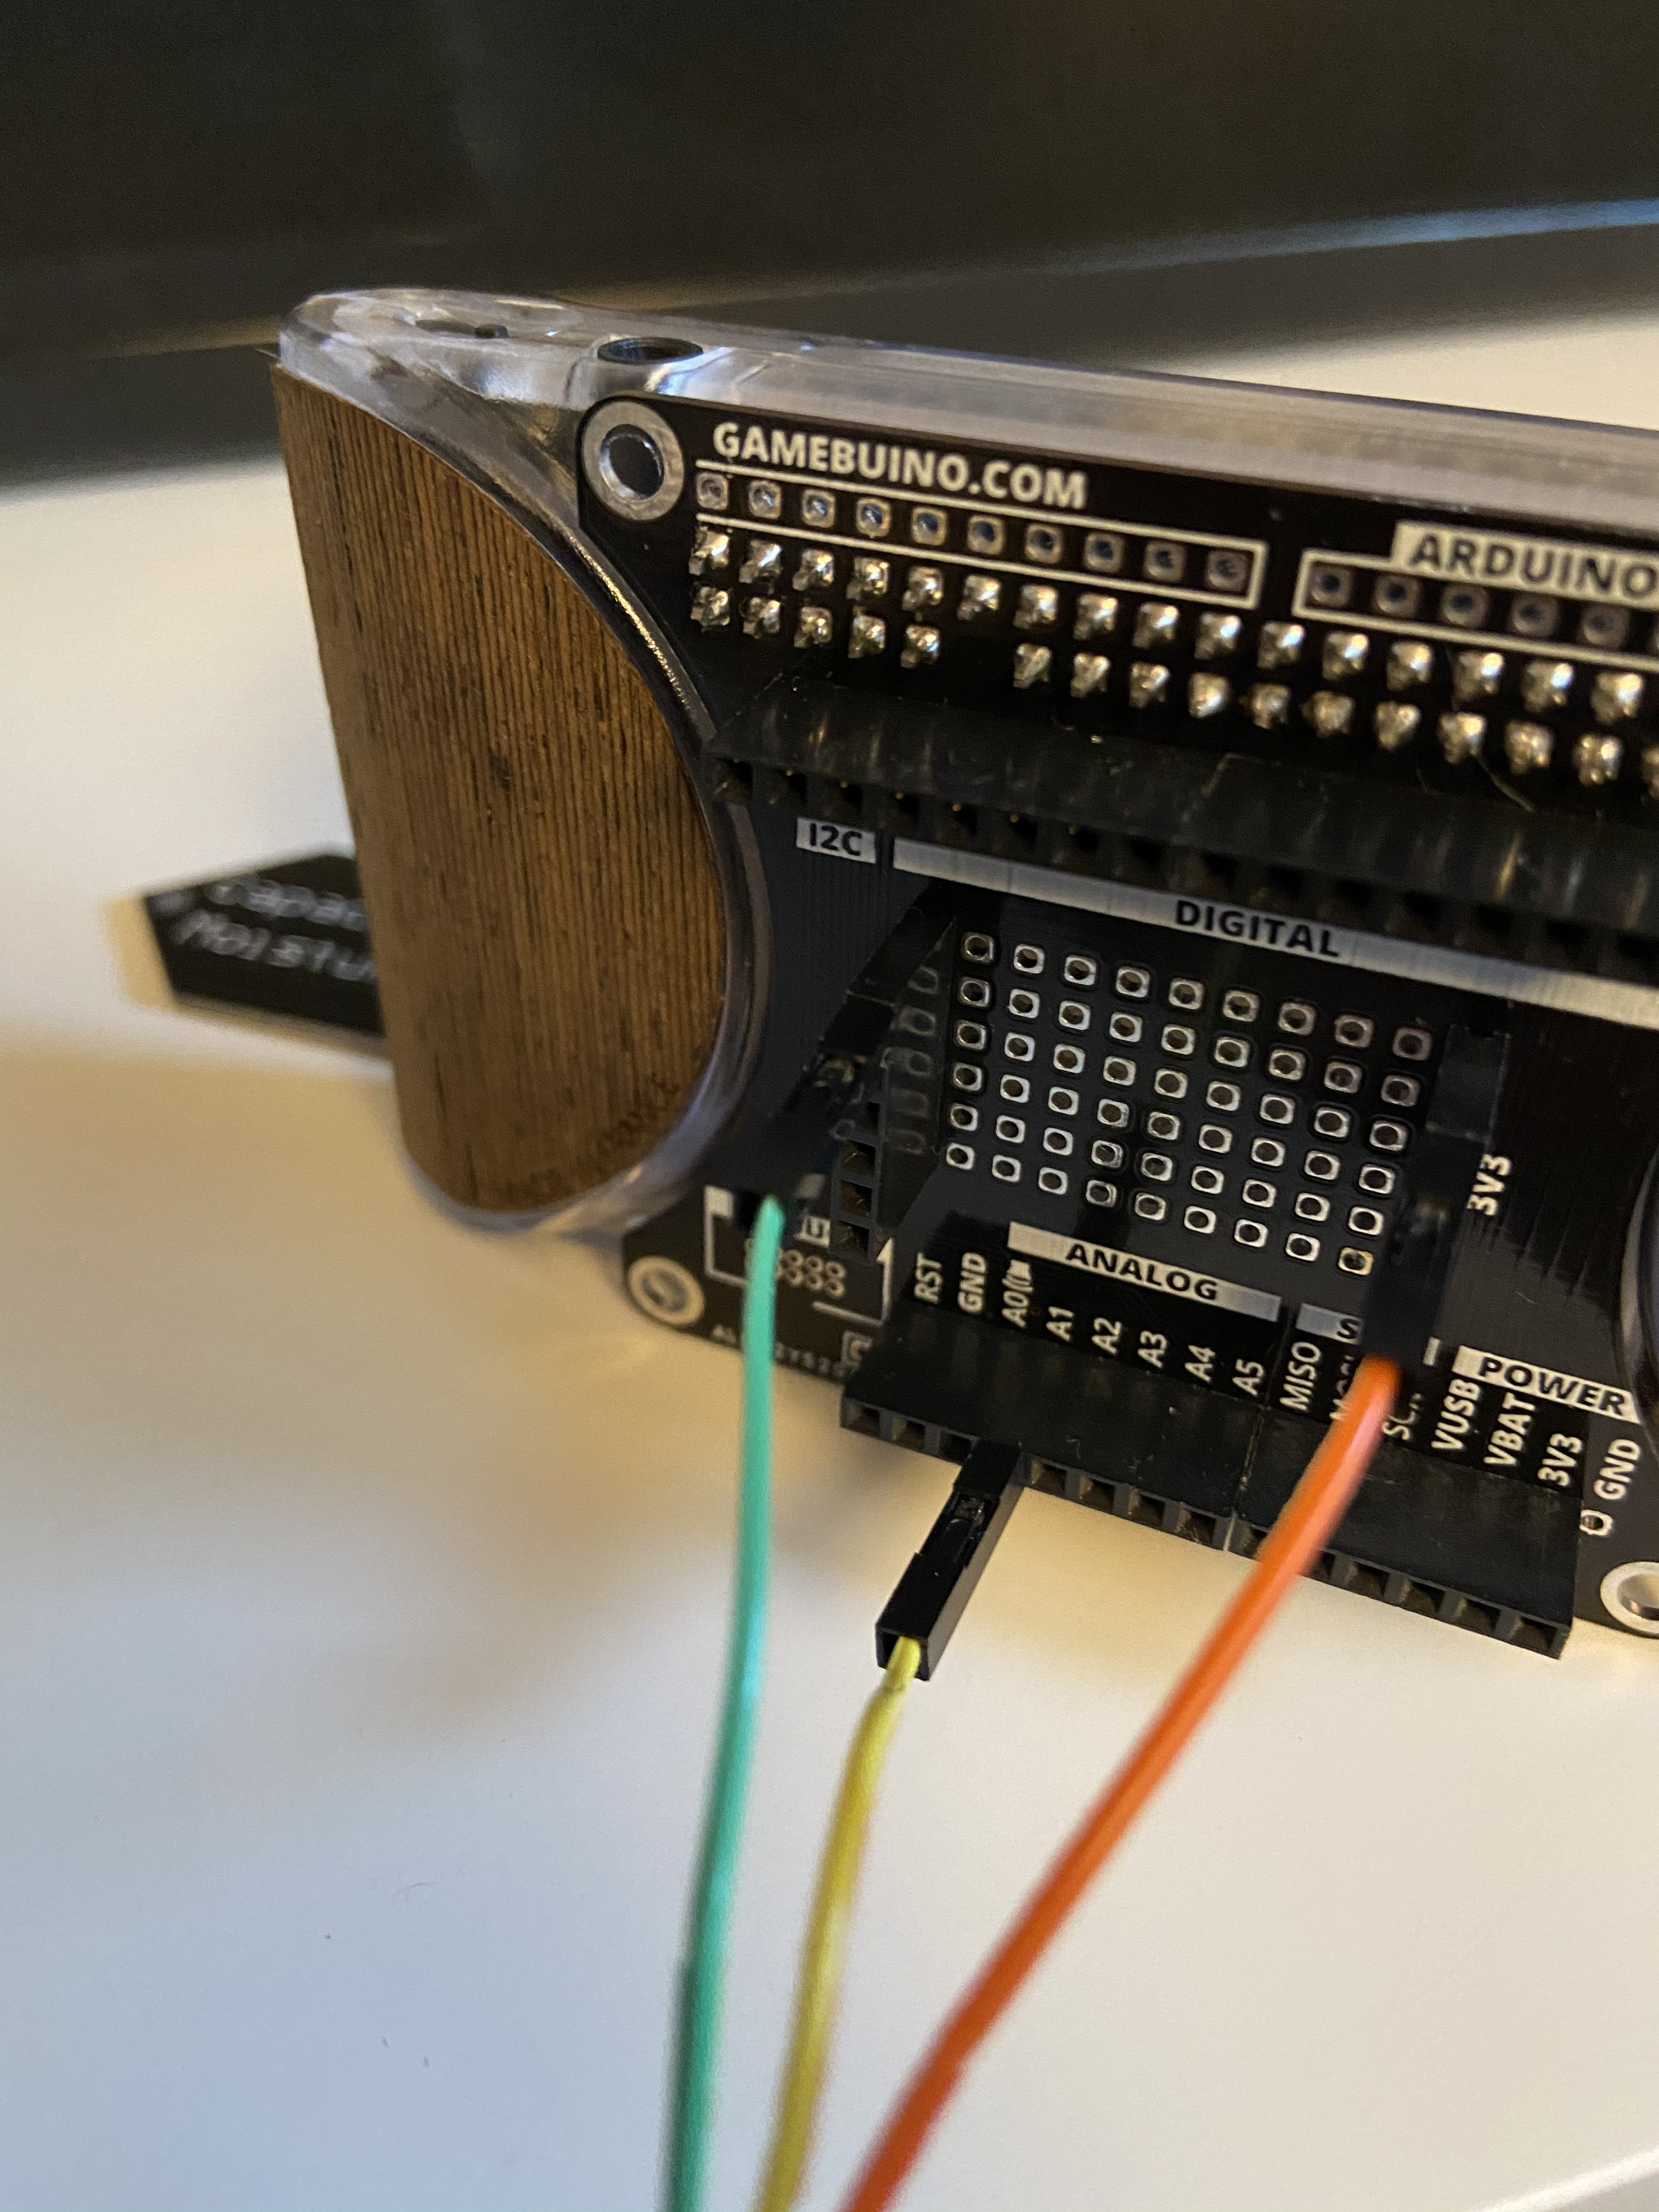
Et voici quelques photos montrant le branchement du capteur sur la console en utilisant la carte d’extension developper backpack pour Gamebuino Meta:
Les cables alimentation et masse sont branchés sur des pins 3v3 et masse tandis que la sortie du capteur est branchée sur le pin analogique A1.