Here is another Python tutorial dedicated to the accessory pack.
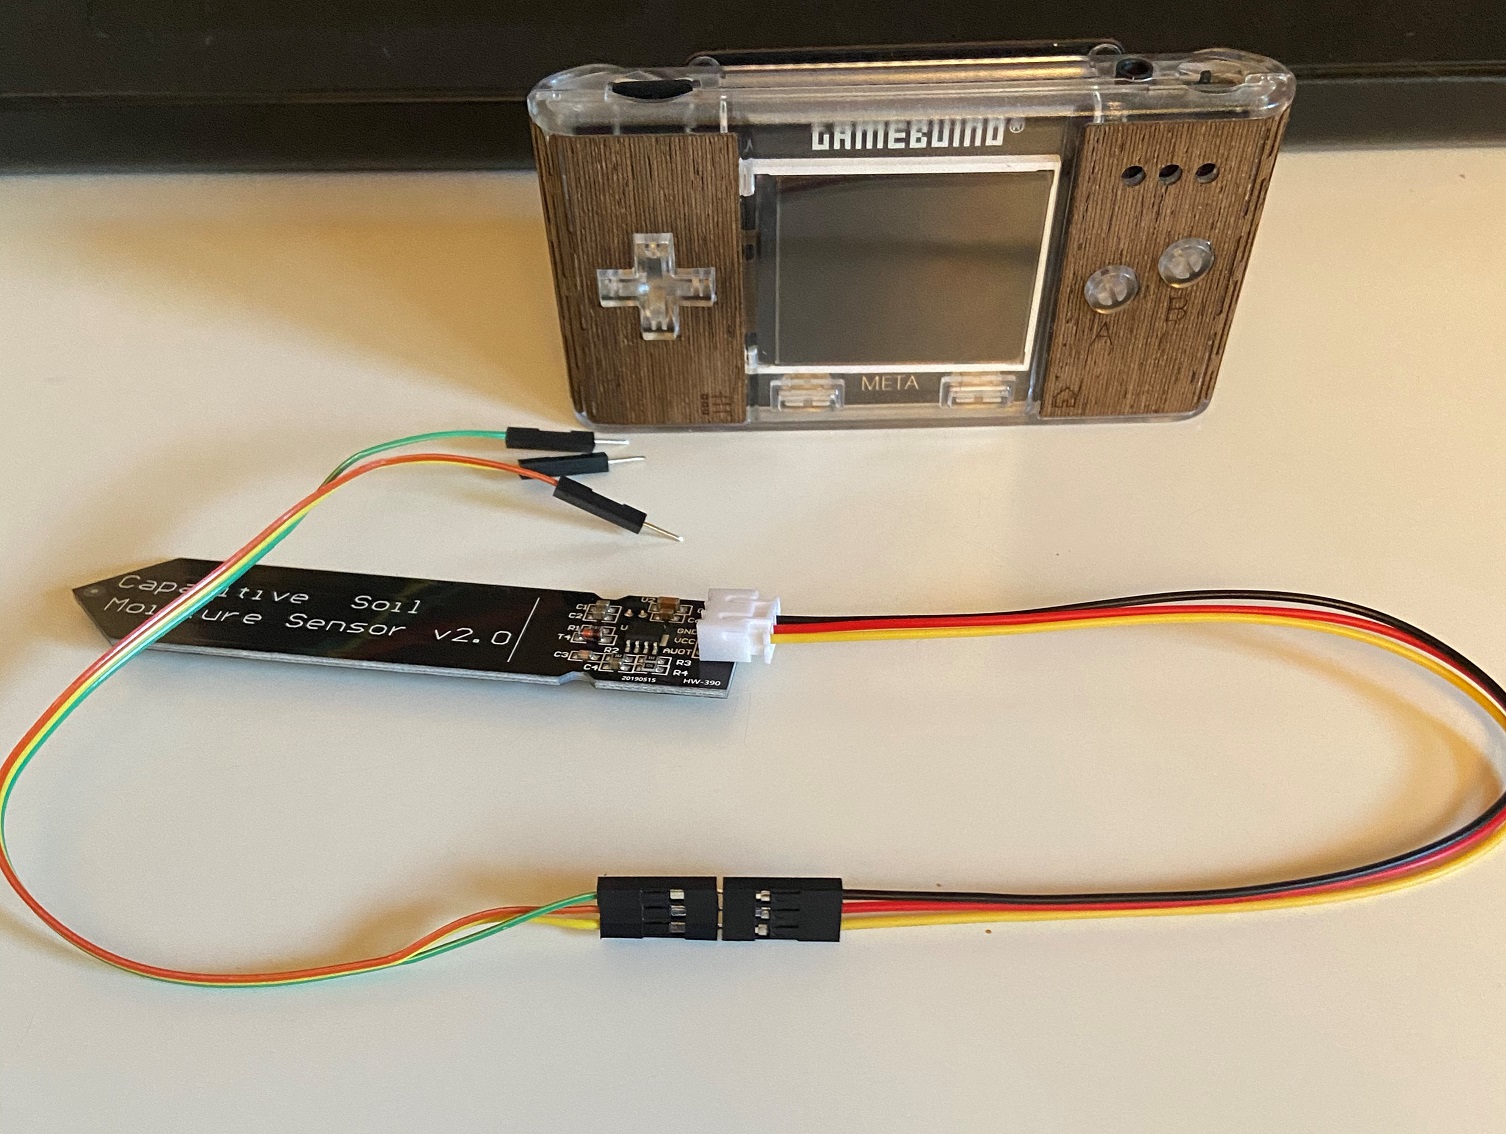
This time we will look at the moisture sensor. We will write a simple program to use the sensor, afterwards feel free to enrich this as you see fit.
Getting started : Tools requirement
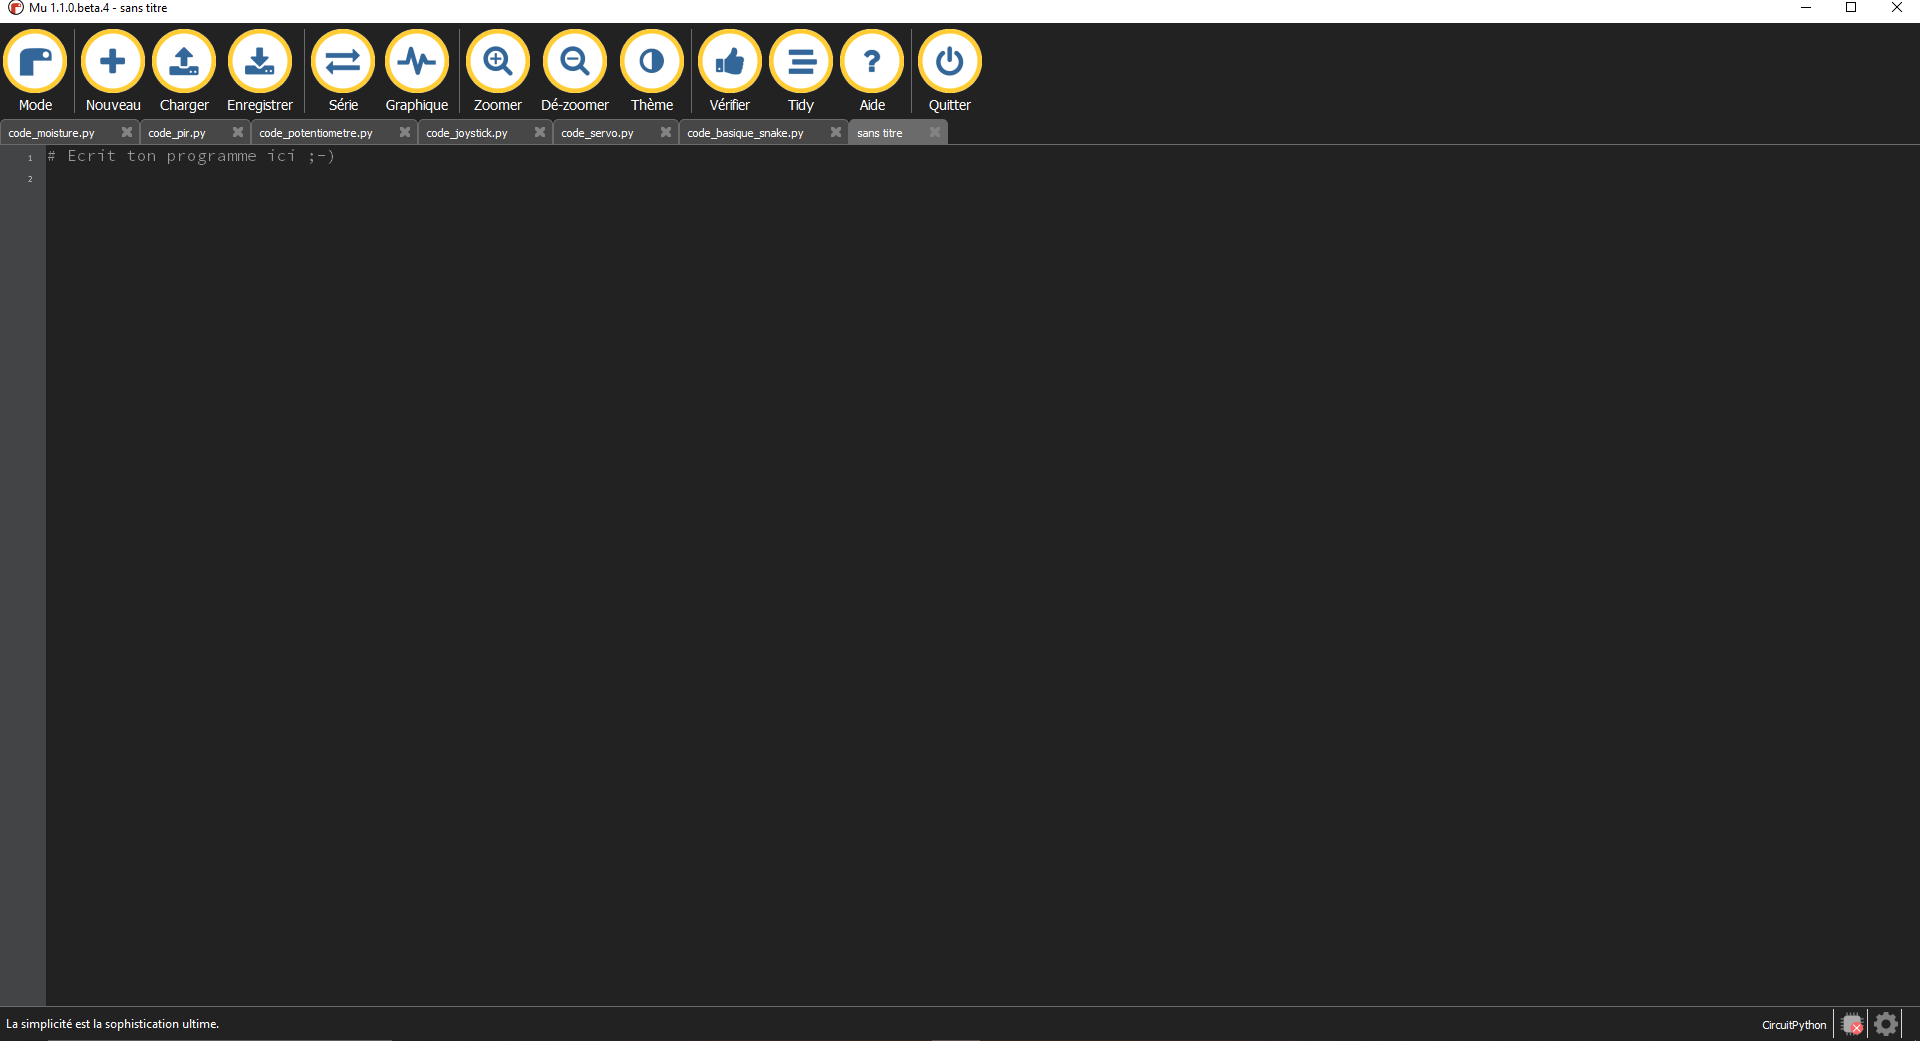
This tutorial is made with Mu IDE for CircuitPython.
If you haven’t installed those yet please refer to the installation guide on our website.
Wiring :
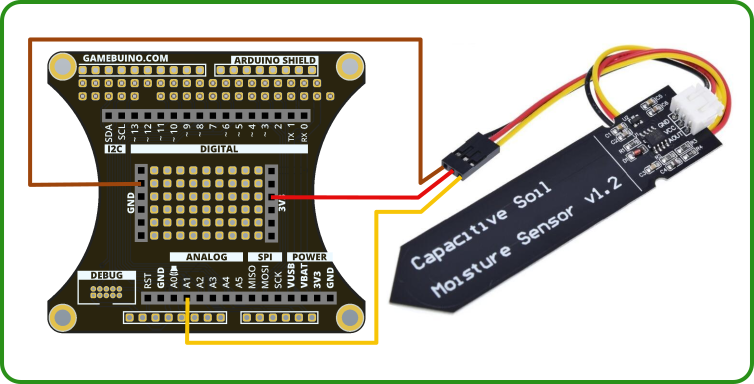
| Capteur | Backpack | Couleur | Description |
|---|---|---|---|
| AOUT | A1 | YELLOW | Signal output |
| VCC | 3V3 | RED | Power input |
| GND | GND | BROWN | Ground |
Step 1 : Program’s basis
Begin by opening Mu and creating a new file.
Copy the following code :
from gamebuino_meta import begin, waitForUpdate, display, buttons, color
import board
from analogio import AnalogIn

while True:
    waitForUpdate()
    display.clear()
This will import the required Gamebuino libraries into the program, as well as an “AnalogIn” library and a “board” one needed to work with our sensor.
The part beginning by “while True:” is our main program loop, without it nothing would ever happen.
Step 2 : sensor reading
Here we will see how to read from our sensor, store the value obtained and modify it.
Let’s start by defining the entry port of our sensor :
analog_in = AnalogIn(board.A1)
Here we use the AnalogIn() function to which we give the A1 pin as a parameter (board.A1) to define an “analog_pin” variable we will use. You can use another pin if needed, just plug things accordingly.
We will then declare two additional variables “base_value” and “percent_value” we will use to store the read value and transform it :
from gamebuino_meta import begin, waitForUpdate, display, buttons, color
import board
from analogio import AnalogIn

analog_in = AnalogIn(board.A1)

base_value = 0
percent_value = 0
We initialize those variables at 0 as a matter of principle, such a small program shouldn’t create too much issues otherwise but it’s a good habit to pick up.
Let’s get to the reading itself
We will use a dedicated function we’ll call “read_sensor” that takes a pin as parameter :
def read_sensor(pin):
    return 65536 - pin.value
The function simply returns the sum of 65536 minus our read value. Why 65536 ? Well our sensor sends out a value encoded on 16 bits, thus a MAX value of 65536-1. Also this value is inversely proportional to moisture, so we invert it for convenience sake.
Note that our function does its jow flawlessly, yet it’s not included in our main loop and thus serves no purpose since it’s never called. We remedy this very simply :
while True:
    waitForUpdate()
    display.clear()
    base_value = read_sensor(analog_in)
We call our function into our main loop. And we take this opportunity to store the value it sends out into our “base_value” variable to work on it later.
We’ll transform this base value into something slightly more convenient, a percentage, that we will store into our “percent_value” variable :
while True:
    waitForUpdate()
    display.clear()
    base_value = read_sensor(analog_in)
    percent_value = base_value * 100 // 65536
With a simple cross-product we get our raw value scaled down to a range of 0 to 100 and store it into “percent_value”
Step 3 : A bit of display
So far everything we did just works, but we have no way of checking because nothing appears on our console’s screen.
So we will add a couple functions to our program to display some informations.
The first function will simply print out the content of our variables. Thus we will call it “print_values”
We define our function with two parameters, corresponding to our two variables :
def print_values(valueA, valueB):
    display.print(valueA)
    display.print('\n')
    display.print(valueB)
    display.print('%')
We print out the content of variable A, then a newline, then the content of variable B followed by a “%”. Nothing too fancy here.
Our second fcuntion will display a dynamic filling bar corresponding to the moisture amount detected by the sensor. It may sound slightly complex but rest assured it’s still fairly simple.
We declare our function called “draw_bar”, taking into parameter a single variable, here it will be our “percent_value” :
def draw_bar(percent_value):
Then we add the display of an empty rectangle :
def draw_bar(percent_value):
    display.drawRect(5, 54, 70, 10)
Followed by the display of a filled rectangle which length is proportional to the value of “percent_value” :
def draw_bar(percent_value):
    display.drawRect(5, 54, 70, 10)
    if(percent_value > 25):
        display.setColor(color.BLUE)
    else:
        display.setColor(color.RED)
    display.fillRect(6, 55, percent_value*68//100, 8)
Note the sligh subtlety : we define the color of this second rectangle as blue if the value is high enough, here > 25, and as red if it gets too low.
Now we just need to call those two functions into our main loop :
while True:
    waitForUpdate()
    display.clear()
    base_value = read_sensor(analog_in)
    percent_value = base_value * 100 // 65536
    print_values(base_value, percent_value)
    draw_bar(percent_value)
Here we are, the program is done and should look like this :
from gamebuino_meta import begin, waitForUpdate, display, buttons, color
import board
from analogio import AnalogIn

analog_in = AnalogIn(board.A1)

base_value = 0
percent_value = 0

def read_sensor(pin):
    return 65536 - pin.value

def print_values(valueA, valueB):
    display.print(valueA)
    display.print('\n')
    display.print(valueB)
    display.print('%')

def draw_bar(percent_value):
    display.drawRect(5, 54, 70, 10)
    if(percent_value > 25):
        display.setColor(color.BLUE)
    else:
        display.setColor(color.RED)
    display.fillRect(6, 55, percent_value*68//100, 8)

while True:
    waitForUpdate()
    display.clear()
    base_value = read_sensor(analog_in)
    percent_value = base_value * 100 // 65536
    print_values(base_value, percent_value)
    draw_bar(percent_value)
Everything left is to upload it to the console, don’t forget to save it locally on your computer to not lose it.
